


I saw this on Pinterest which inspired me to create something of my own that was very similar.

I had this old door I bought from a guy I met at a garage sale. I paid $12 dollars for it. If you don't have anything like this it would be very easy to go buy the wood from your local home improvement store.

I had it in my girls bathroom and was using it as a towel rack. The hooks used to hold the towels I bought at a garage sale. 3 hooks for $5.

I loved the tree in the original project from Pinterest so I decided to stick with that idea just on a much larger scale. I went and bought a poster board at Walmart and channeled the inner 7th grader in me who used to like to draw. I then cut out my tree and used double sided tape to tape it to my door.

If I could do it all over again I would not have used a poster board. I would have tried wax paper or something that wouldn't have absorbed my paint but would have sat more flush against my project. I will show you why in a minute.
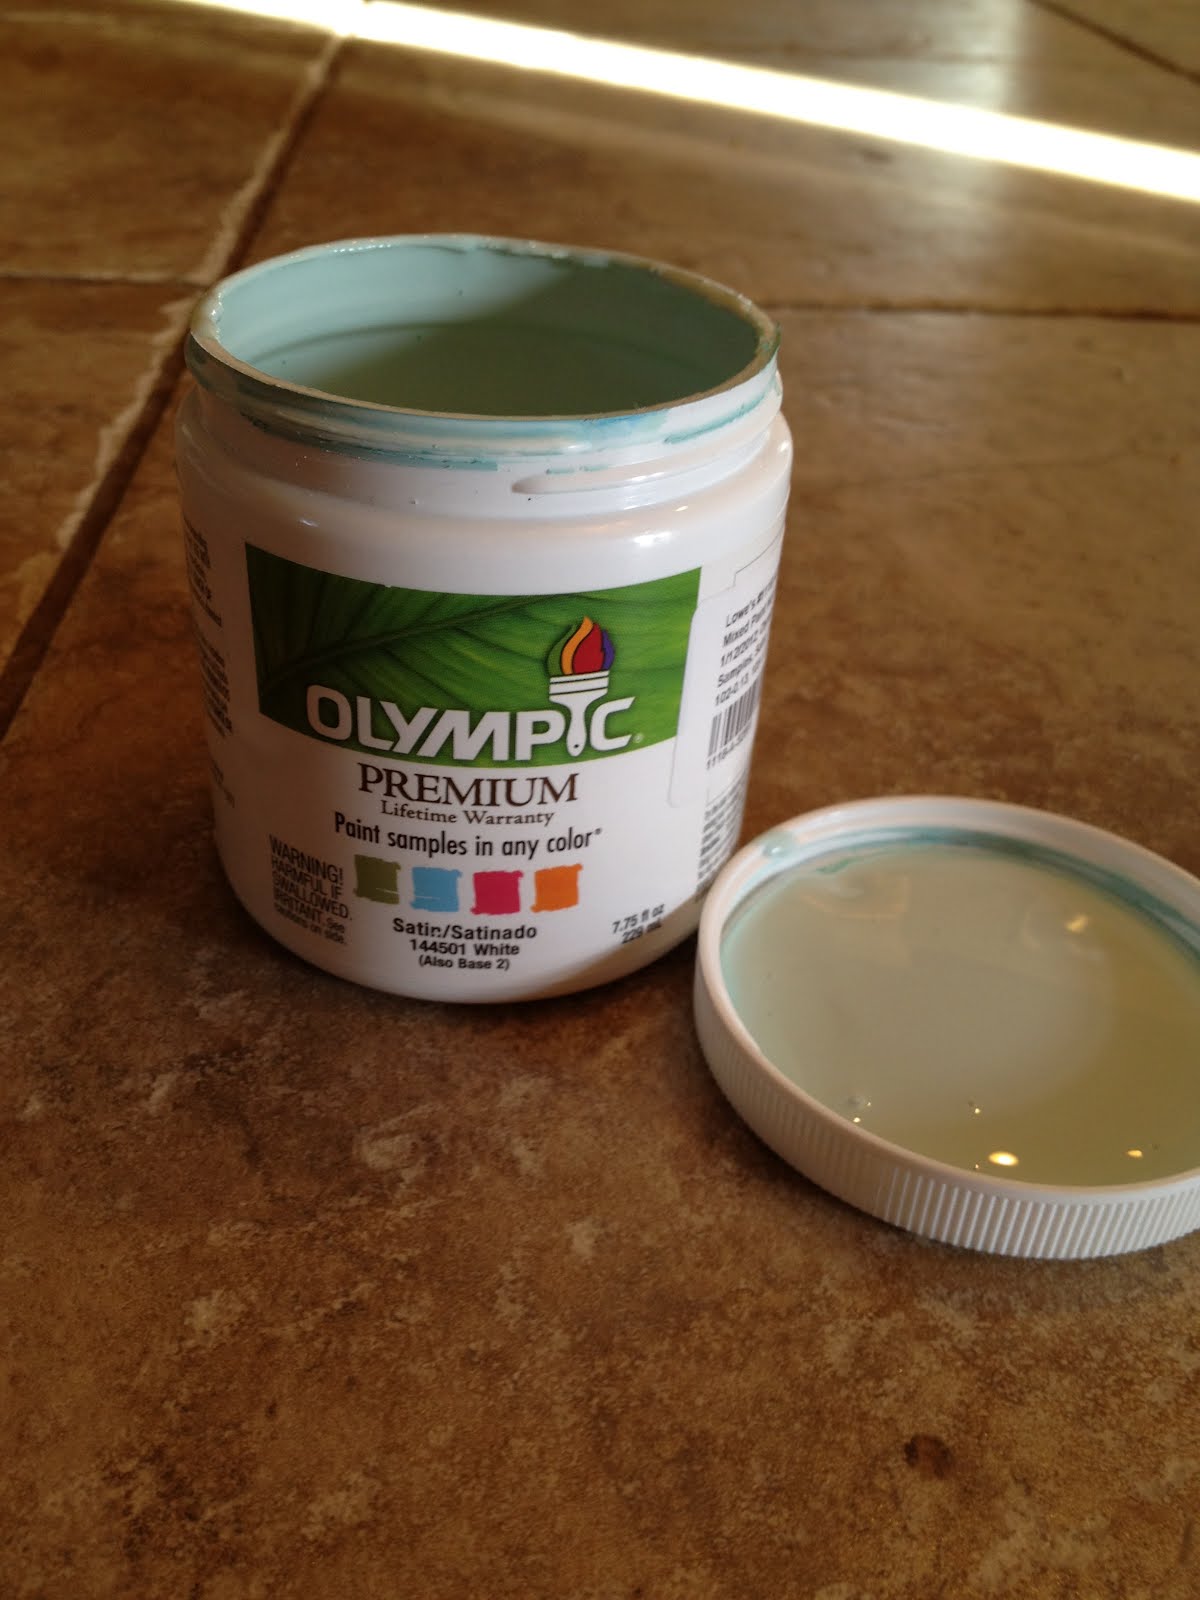
To keep cost down I also just bought a paint sample instead of buying a whole quart of paint. As long as you are not painting large pieces of furniture you would be surprised how far these paint samples will go. I didn't even use it all. These are only $3 at Lowes or Home Depot
I also used a foam roller to roll my paint on. I swear these were sent down from heaven above just for me because I HATE brush strokes with a passion. These don't leave any pattern in your paint!

Here is my door after I started painting.


After I was done and my paint had dried I pealed off my poster board. Here is what it looked like. Not too bad right? Not till you get close at least.
Using poster board was NOT a good idea

When I peeled off the poster board it took off more than I wanted in some spots and in other spots didn't protect the design of my tree.

So I had to go back with a small paint brush and touch up everything.

After I fixed the outline of my tree I took some sand paper and sanded the edges of my project down

I also used a sander on the corners to really rough them up. My sander is also from a garage sale and came in a bag with little sanding sheets. I paid $5 for it!

Here is my corner after using the sander.
I wasn't a huge fan of the color of the wood underneath the paint so I took some stain and stained everywhere that the wood showed through. When you are working with stain get a rag and dip it in your stain and then rub it into your project until it is all soaked in. Easy as that.

Here is how the stain made my wood look. Much better!

You can use stain to distress your project but it is much less forgiving than glaze. I used a little bit of both.
When I used stain on this project instead of just painting it on I dipped my brush in the paint

and then dabbed it on a rag

I do this when I don't want the entire project glazed. It allows you to concentrate your glaze in certain locations.

Here it is after being glazed!

And finally on my wall! I have more plans for this wall in the future and can't wait to see how everything turns out. Here is my before once again.
Here is a close up of the old hooks I used to hang towels on


It turned out very cute!!!! Keep creating
ReplyDeleteIn the future you should try using contact paper because it will stick flush to your project!
ReplyDeletegreat idea! I will remember that! Thank you!
ReplyDeleteThank you Gwen!
ReplyDeleteIt looks SO great! even with your poster board blunder. I love everything about it!
ReplyDeleteloos awesome! you are super talented robin!
ReplyDeletejaniene
**looks awesome**
ReplyDelete