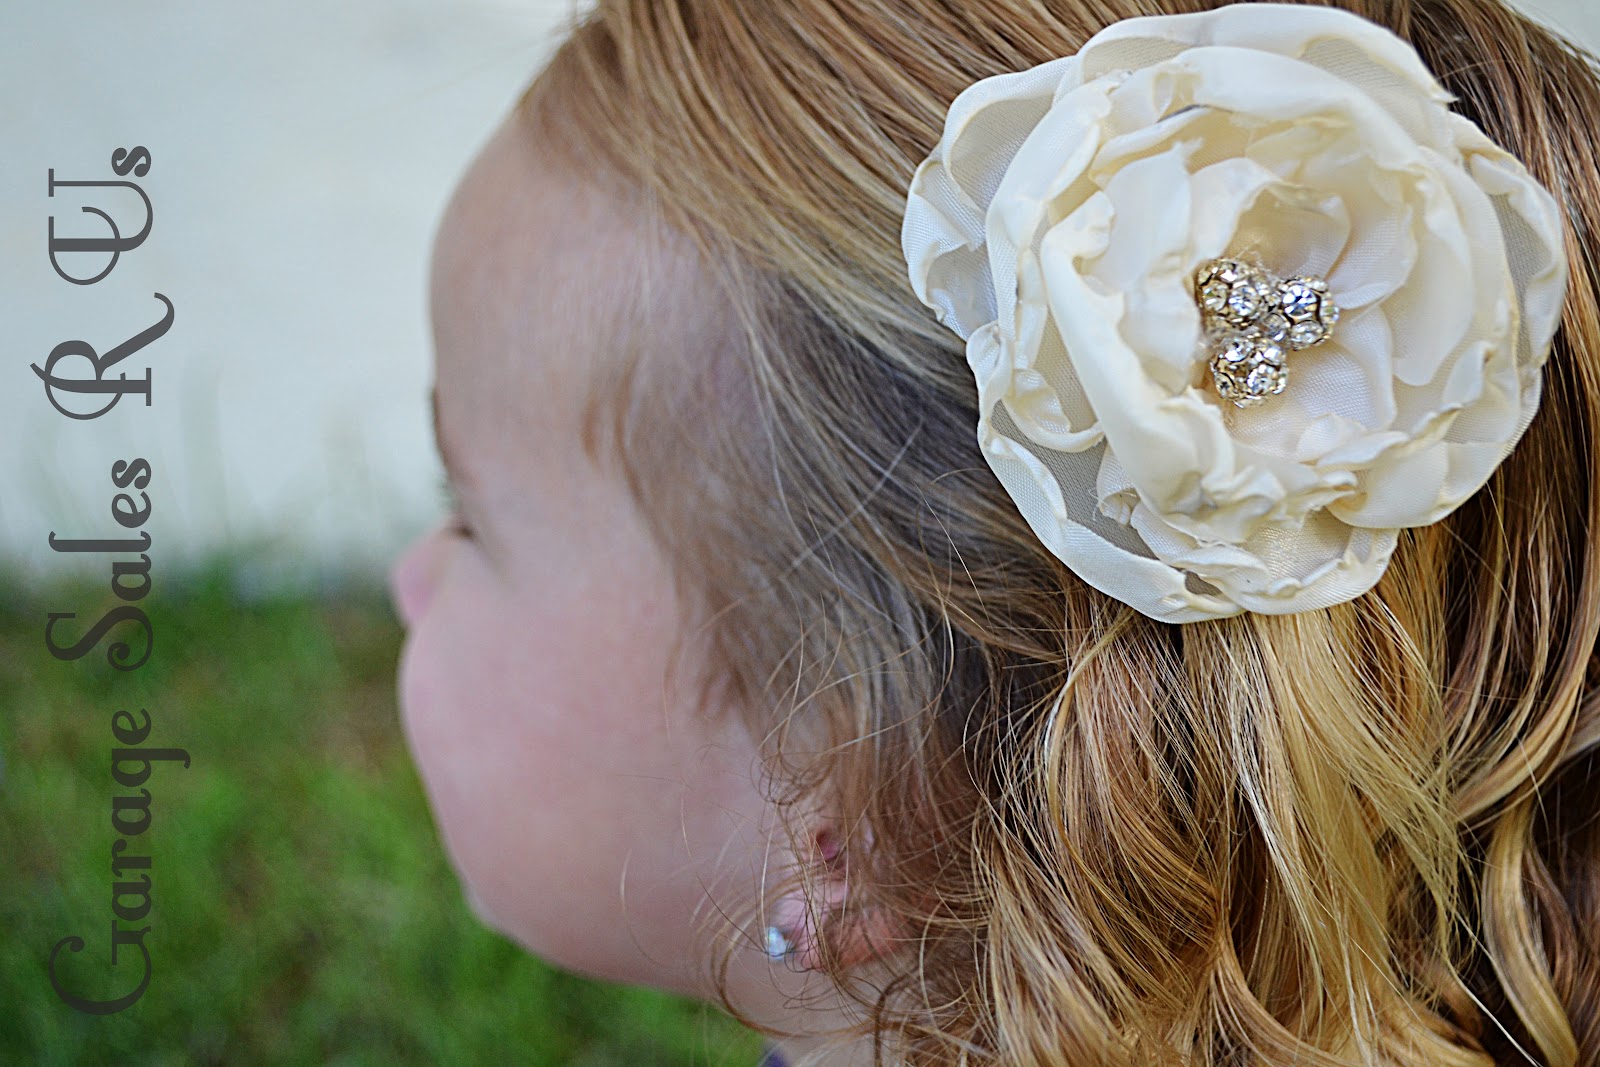
Here are some more fabric bow tutorials! If you want to win these bows head over to A Creative Cookie to enter my giveaway to have a chance to win 5 bows!
You will need your choice of fabric, a lighter, and a glue gun to make each of these bows.
Bow #1

To make this bow you'll want to start off with one small circle

Using that small circle as a guide cut out a second circle that is a little bit bigger than your first.

You will need a few layers to complete this bow.

I typically do about 6 to 7 layers.

After you have all of your layers cut out will will burn the edges of the fabric to make them look like a flower petal.

To do this I fold my fabric upward holding my finger in the middle of the fabric. I then take my lighter and hold it under the edge of my fabric. Continue doing this all the way around your circle of fabric. Be very careful not to hold it too close. We are just trying to melt the fabric not light it on fire! Also be really carful not to burn yourself. I have done both of these several time and it's not fun!

Here is what your petals should look like when you are done!

After your petals are made you will glue them together in order of size. As you do this make sure to watch the overall shape of your flower. It is really easy for your flower to start taking on an oval shape. If you want an oval shape great. If not you will have to compensate for the imperfectness of your petals. If one side of you petal stick out a little further correct that with the next petal you glue on by glue it's side that sticks out a little more opposite of your first petal.
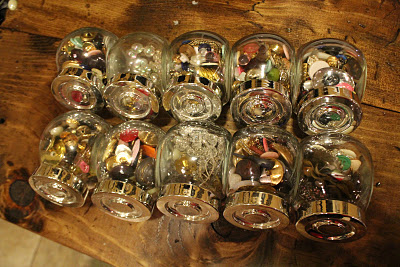
After you have finished your flower you will need something to put in the center of your bow. I buy most of my bow centers for my bows at garage sales. They come in all kinds or forms from old buttons, jewelry, rhinestones and pearls. The little pearls I used in this bow came from a bag a pearls that came off a broken necklace. I bought the bag for a few cents! I also added to another style of fabric bow to this one to make the bow. For that tutorial Click here. You will also need to add a ribbon lined alligator to the back of your bow! Click here for that tutorial!
Bow # 2

This second bow is made much like the first. To start this bow I like to cut myself a strip of fabric

There is no need for it to be perfect. Mine is obviously not!

Then you will fold it over a few times and cut a circle out of your center.

This allows you to make a bunch of circles all at the same time and with will all relatively be the same size. Once you have reached this point you will start forming your petal with the lighter.

Remember to hold your circles like I should you in the first bow.
Holding your circle like this will help the fabric to melt and curl up in the right direction. If you just hold your fabric flat it will sometimes begin to curl downwards.

After your petals are made you will glue them together by over lapping each petals edge. You are making each circle a separate flower petal. I used four petals for this layer.

After you have your first layer you will then start working on your second. Follow all the previous steps until you have several fabric petals as shown in the picture above.

Glue this layer of petals to the back of the first. Use the same method we used to make the first layer.

From here you will continue to make several more layers.
I made a total of four layers for this bow. After you have assembled your layers add a cute center and a ribbon lined alligator clip to the back and your done!
Bow #3

For this bow you will begin the same may we started our first bow. Cut out on small circle and use it as your guide to cut out a second circle a little big larger. Continue to do this till you have 6 or 7 layers.

Then you will take each circle and cut slits into the center of the circle.

Here are all my circles after cutting the slits.

Next you will take your lighter again and melt the edges the same way we did with our other two bows. This petal takes the longest to form. Be patient and remember to be careful not to burn yourself!

Your petals don't need to be perfect for this bow!

After you have made all of your petals you will take the smallest petal and put a dot of glue in the center. Then you will pinch the four sides of your center together as shown below

This is a picture from another tutorial and separate bow so don't let it confuse you. You do not want your petals in the glue. You will be simply bringing all of your petal to where they touch each other in the center.

This is a picture after I have done a few layers but this will help you get an idea of what it should look like.

This is a picture of a layer that has been added on but not yet pinched so that all the petals meet in the center. When adding additional layers put a dot of glue in the center of your layer. Then place it on the back of the petal you already pinched together and formed. Then continue by pinching that layer together to help bring the petals of your additional layer together to the center.

These flowers are really cute on their own but I decided to add an old button in the center and some feathers to dress it up! If you are adding feathers you will want to glue a piece of fabric onto the back of the bow over the feathers to make sure they stay on. You will also need to add a ribbon lined alligator clip! Lining your alligator clip with ribbon helps to make sure that your hair does not get stuck in the joints of the clip.
And there you have it. Tutorials on three different fabric bows! Now on to the good part! THE GIVEAWAY! I will be giving away the three bows I just showed you how to make and two others over at A Creative Cookie! Go enter to win! Make sure your following my blog if you want to win!