










TutorialsPhotobucketSponsorsPhotobucketPhotobucketPhotobucket

PhotobucketPhotobucketPhotobucketPhotobucketPhotobucket
Photobucket Photobucket Photobucket Photobucket

Monday, August 27, 2012

How to Mod Podge dresser drawers


HOW TO MOD PODGE DRESSER DRAWERS.
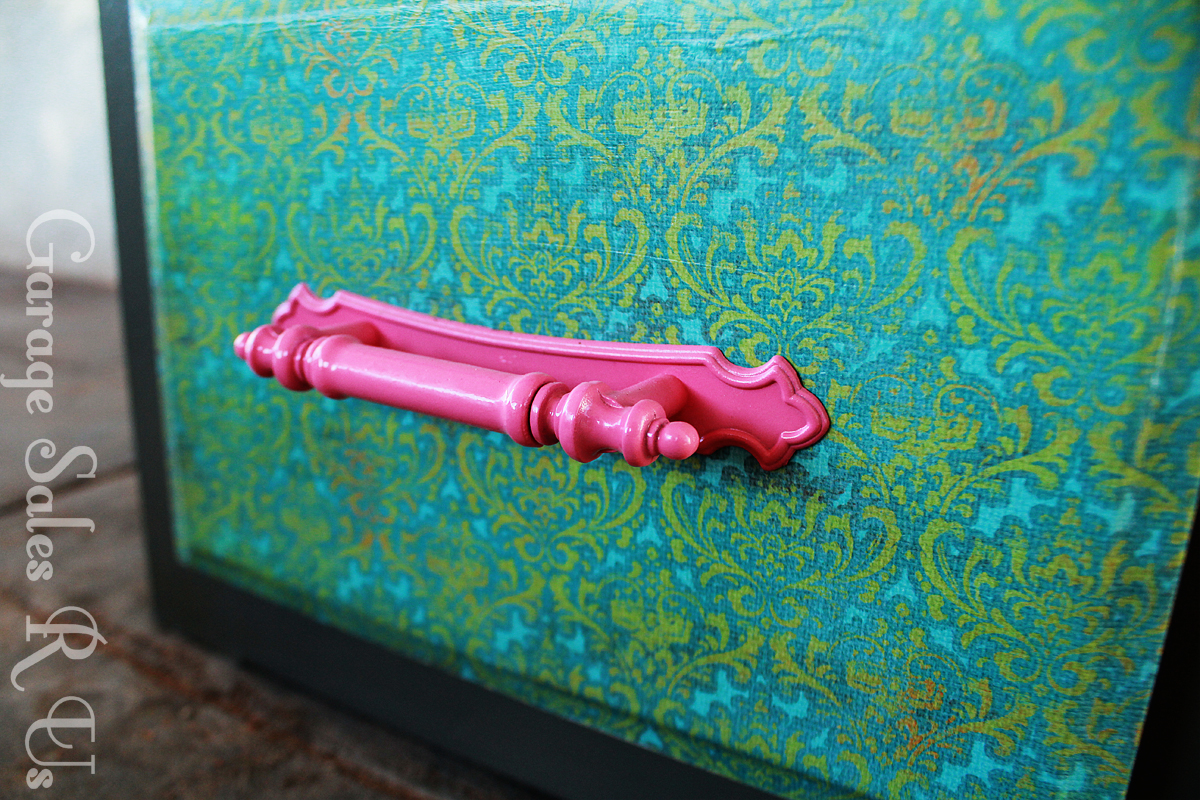
Mod podging scrapbook paper onto a dresser is a great way to give an old piece of furniture a new look. My most popular post has been this set of mod podged dressers I re-did a while back.


 Mod podging these dressers was actually really fast and simple because I didn't have any edges to wrap my paper around. However most drawers are not this simple. What if you do need to wrap your paper around the edges of your drawer? I will tell you how. Here are two projects I have done since that I have had to wrap scrapbook paper around the edges of the drawers.


Here's another small set of drawers that I am also using to house all those little pesky toys that get lost.




For this tutorial you will need:

CARDSTOCK scrapbook paper
plenty of mod podge
a wet rag
scissors
Vinyl applicator (credit card would work too)


Wording for this tutorial might get a little confusing so I designed this diagram to help make things more clear.


First you will put a layer of mod podge on the front flat surface of your dresser drawer. Do not do the edges yet.
Then lay your paper on top of it making sure your paper is straight. With your vinyl applicator or credit card push out all the air bubbles by starting in the center and scraping outward. You don't have to do this really hard. Use an average amount of pressure when you do this. Keeping your scrapbook paper from bubbling can be hard. Be patient. You want to continue pushing out air bubbles until the mod podge begins to set. If you see an air bubble forming take your hand and place it over the air bubble. Put some pressure on it and try to rub the air bubble out in a circular motion. Continue doing this until the paper adheres to the drawer.
After you have your paper on and all the bubbles have been worked out you will want to press your paper down to crease it where your edges begin.

You will be creasing it in three places.
 Run you finger inside the groove to make your first 2 creases more visible. I actually did not make my second crease. Then fold it over and press the paper against the back of the drawer as shown in the picture.
 Your paper should look like this when you are done.

Your third crease will be a guideline showing you where to cut your paper.  Here is how I cut mine. On the corners I followed my third crease but in the middle I cut about 1/2 an inch below the crease. This allows the middle to still be able to wrap around to the back of my drawer making sure that my paper wouldn't come off easily. It also helps to make doing your corners a lot easier.

I have two videos to explain you next few steps however I skipped an important step so read this next little bit before you start the videos. Your next step will be to start mod podging your paper onto the corners of your drawer. You will want to do one side first. After you have your first side done you will make and incision on the corners of your paper so that you can finish the other three sides.


Here are two videos to help you understand how to complete the next steps

How to do the edges of your drawer

How to do the corners of your drawer


Once you are done with your corners put a thin layer of mod podge over the entire drawer front. Make sure to watch for bubbling. If bubbling does occur you can work out your bubble the same way you did when applying your paper but this time you NEED TO MAKE SURE YOU HAVE MOD PODGE ON YOUR FINGERS BEFORE YOU TOUCH YOUR PROJECT! Once you feel your mod podge getting too sticky apply more. You want to make sure your fingers stay lubricated. (the best word I can think to use) If you don't you will pull off the layer of color to your paper. If a bubble is not working out don't freak out your paper expands when it is wet and will contract again once it dries.

If you work your paper too much there is a chance that you can pull the top layer (layer with all your beautiful colors) off. Do your best to not let this happen. If it does here is what you do.

I worked my paper a little bit to much on this corner. To fix this take a small strip of paper
and run it under water

Then you will seperate the top layer with all your colors from the bottom layer which is just white.

Take your top layer and piece it onto the spots where you worked your paper too much and let dry.

After your scrapbook paper is all dry you will put your handles back on your drawer. To do this take a
nail and push it up through your paper from the inside of your drawer. The point of the nail helps to stop excess ripping of your paper.

After you have made your holes with a nail you can then put your handles on.





Saturday, August 25, 2012

Show & Tell Saturday


Here is another guest from for our Show & Tell Saturday!


Meet Theresa! She blogs over at Quar Decor. She is going to tell us about her filing cabinet makeover!
******************
I picked up two free file cabinets through Craigslist last week. I find a lot of free stuff, but I usually have to work for it. Often times I have to carry heavy pieces up or down several flights of stairs on my own. That's the price I pay to get it for free! These people just want their "junk" taken away, and they don't usually want to do it themselves.


So Mike and I carried these file cabinets down two long flights of stairs and brought them back to the house for some fixing up. I literally had to take a hammer to these guys to bang the drawers back into shape so they could open and shut properly.

Then my well-rehearsed file cabinet revamp got underway: I removed the drawers and popped the hardware off to give it a good shine. Then I cleaned the cabinets with a rag and spray painted them a deep red to cover up the scratches and minimal rust spots.

I cut up the fabric only to find that I only had enough fabric to cover one set of drawers... the other cabinet is still sitting in the living room waiting patiently for its spruced up drawers. (Stay tuned to find out what I end up doing to it!)

I spread Mod Podge on the front surface of the drawers with a cheap brush and smoothed the fabric down and around the front. I cut out a circle so the key hole could pop through.

I let the drawers dry overnight. In the morning I took an exacto knife and cut the fabric through from the back to make holes for the hardware.


The fabric and the color is so bold and bright!


What do you think about this fix up? I really enjoy sprucing up file cabinets... soon I want to create my own patterns and designs for the front of the drawers! Then I can launch my own "Fancy File Cabinet" business :) Thanks for stopping by! Feel free to check out some of my other fun fix ups I've done:


Feel free to drop my "Popular Posts" table. I add that to the end of most of the posts I link up to help keep the traffic flowing on my site! Thanks so much for hosting me :) Have a great day!
****************
Theresa! These are so cool! I Love ALL of them! I am sure you will have some great business with the Fancy File Cabinet!

Friday, August 24, 2012

August 18th 2012

I got out a little late this Saturday morning. I had a really overwhelming and tiring week so I let myself sleep in a little bit before I got out. By the time I got out to my car it was 8:30 and I had no cash with me. On my way out I grabbed the only money I had.....my change jar.
Even being late and counting out my change to pay for items I was still able to find a few things.
I got all these green plants for $2. These will be good for decorating. It's always nice to have some green to throw in the mix. I will paint the pots to match whatever color scheme I need.
C.J. mentioned wanting some noodles for when we go out to the lake so I picked these up for .50 cents a piece.
Jaysa is really into being a cowgirl right now. When I saw these little kids chaps I thought she would love using them for dressups. I paid $2 dollars for them.

 I also bought myself two workout tank tops and an athletic jacket for $1 a piece.

I found C.J. a few shirts at the same garage sale. I bought him 4 shirts for 3.50. The two black shirts are Under Armour and Reebok polo's he will be able to wear to work. The other shirt is just one he can run in. I bought it for .50 cents. The last shirt was a white Callaway golf shirt that must be in the wash somewhere cause I couldn't find it to take a picture of it. I bought the others for $1 a piece.

OTHER AWESOME DEALS

Here is a kid's bounce house for $75. This would be so much fun!
I loved these flats but they were a little bit too big. They were a few dollars a piece.
These are brand new kid's track shoes for $3 dollars.
Here is an umbrella stroller for $2 dollars. You can't beat that price!

I also found a lady that was selling some canopy covers she made for $15 dollars a piece.

She had lots of patterns. Some of them weren't the cutest but if you are in need of one this would work.

She also ha some of THE cutest baby girl clothes for $1 a piece.

I think this one was really cute! She also had a little black onesie that said "This is my little black dress" and had a pearl necklace printed on it. SO CUTE!

This tin bucket was .50 cents. I just bought one of these at D.I. for $1 and here is what I did with it.
This is hanging on the ladder I made a while back for my brother's engagements. I am still working on getting a few other things up on it before I post about it. This was a silver tin can just like the one I found at the garage sale. I spray painted it white. I found an awesome roll of this burlap at D.I. for $2 dollars. I cut a piece off and drew a #5 on my can with a permanent marker.